
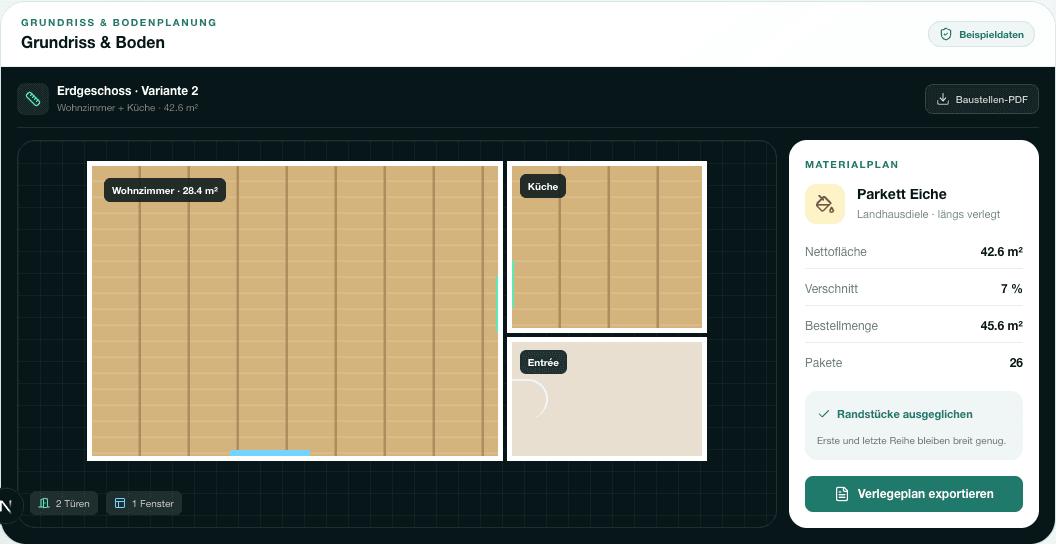
Draw rooms. Plan the layout. Buy the right amount.
Plan multiple rooms, doors, windows and transitions. Test parquet, laminate or tiles and get material quantities, cuts and installation steps.
- Rectangular, L-shaped and custom rooms
- Continuous layout grid across multiple rooms
- Waste, packs, costs and a job-site PDF
Included in the free account · Plan stored with your property
Rooms
Align and connect
Patterns
Test parquet, laminate and tiles
Take plan and shopping list with you
FROM MEASURING TO BUYING
A plan that remains useful on site
The planner goes beyond square metres. It balances edge pieces, includes transitions and brings materials, packs, reserve and costs together.
Anonymised sample data
Draws rectangular, L-shaped, and free-fit spaces with multiple corners.
1Plan several rooms next to each other and take transitions into account.
2Sets and moves doors and windows on the selected wall.
3Supports laminate, parquet, floorboards and tiles in multiple formats.
4Shows straight laying, dressing and herringbone as visual variations.
5Calculates area, edge pieces, cuts, waste and required packages.
6Can avoid narrow last rows through a balanced starting cut.
7Creates a construction site PDF with plan, materials and installation steps.
8STEP BY STEP
How to create a useful flooring plan
- 01
Draw rooms
Start with a rectangle or L-space. Choose a wall before adding a new corner.
- 02
Set openings
Insert doors and windows on the correct wall and move them to their measured position.
- 03
Align rooms
Place the kitchen, living room or hallway next to each other if you want the floor to continue running without interruption.
- 04
Choose topping
Enter the actual board or plank dimensions, package contents, price, joint and reserve.
- 05
Optimize patterns
Compare direction and association. Activate balanced start if the last row becomes too narrow.
- 06
Take PDF with you
Export plan, cutting, material list and order for purchasing and construction site.
CHECK BEFORE BUYING
Accurate measurements still matter
Wertify calculates from your measurements. Walls, subfloor, movement joints and manufacturer instructions still need to be checked on site.
The plan does not replace millimeter-precise measurements on the construction site.
Uneven walls, niches, movement joints and subsurface defects must be checked on site.
Manufacturer specifications for minimum lengths, joints, support and room size take precedence.
Herringbone and complex transitions usually require more reserve and technical experience.
The export is a work aid, not a work plan with legal binding.
FLOORING CALCULATOR
Common questions about materials and installation
Can I combine several rooms in one plan?+
Yes. Rooms can be arranged next to each other so that direction and transitions are planned together.
How does the planner prevent a last row of just a few centimeters?+
The balanced start shortens the front row to make the start and end wider and visually calmer.
Can I move doors and windows?+
Yes. In the Doors and Windows step, select the opening and wall and set the position to match the measurement.
Does herringbone work like a regular floorboard bill?+
No. The pattern requires its own geometry and usually more waste. The planner shows the additional reserve.
Why do I need a material reserve despite the calculation?+
Cutting, damaged parts, sorting and subsequent repairs can never be completely avoided.
KEEP RENOVATING
Move from flooring plan to renovation overview
FREE PROPERTY ACCOUNT
Save rooms and options directly with your property.
Add the property, plan several rooms and take the exported plan to the shop or job site.
Create a free account